We love stationery! Blogposts weekly every Friday and free printable monthly.

Showing posts with label DIY. Show all posts

Friday, April 14, 2023

Decorating Muji Paper Clips


Muji makes great basics, from furniture, to food, to stationery, everything can be customised to your own style and taste. 

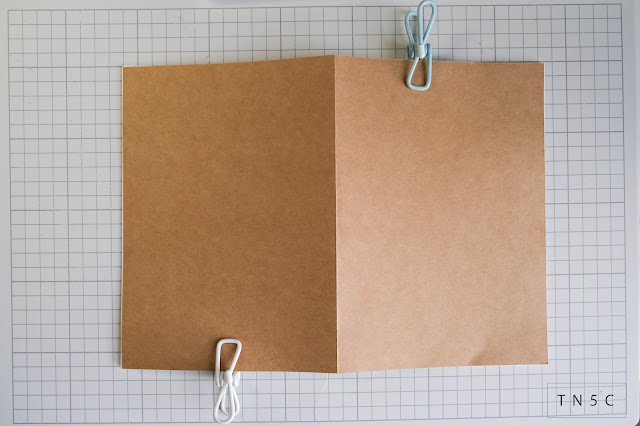
The stationery range has a lot of good things to customise, like these paper clips. 


Each pack of paper clips comes in a pack of 5 and each clip can hold up to 5 sheets of paper. 
The clips are made of paper, which is important for our purposes. 

1. Pen/Marker

This is the most basic and easiest way to customise, the downside is there is a little bit of bleed on the paper material of the paper clip but it's not terrible. 
Use a sign/brush pen for a bit of flourish. 
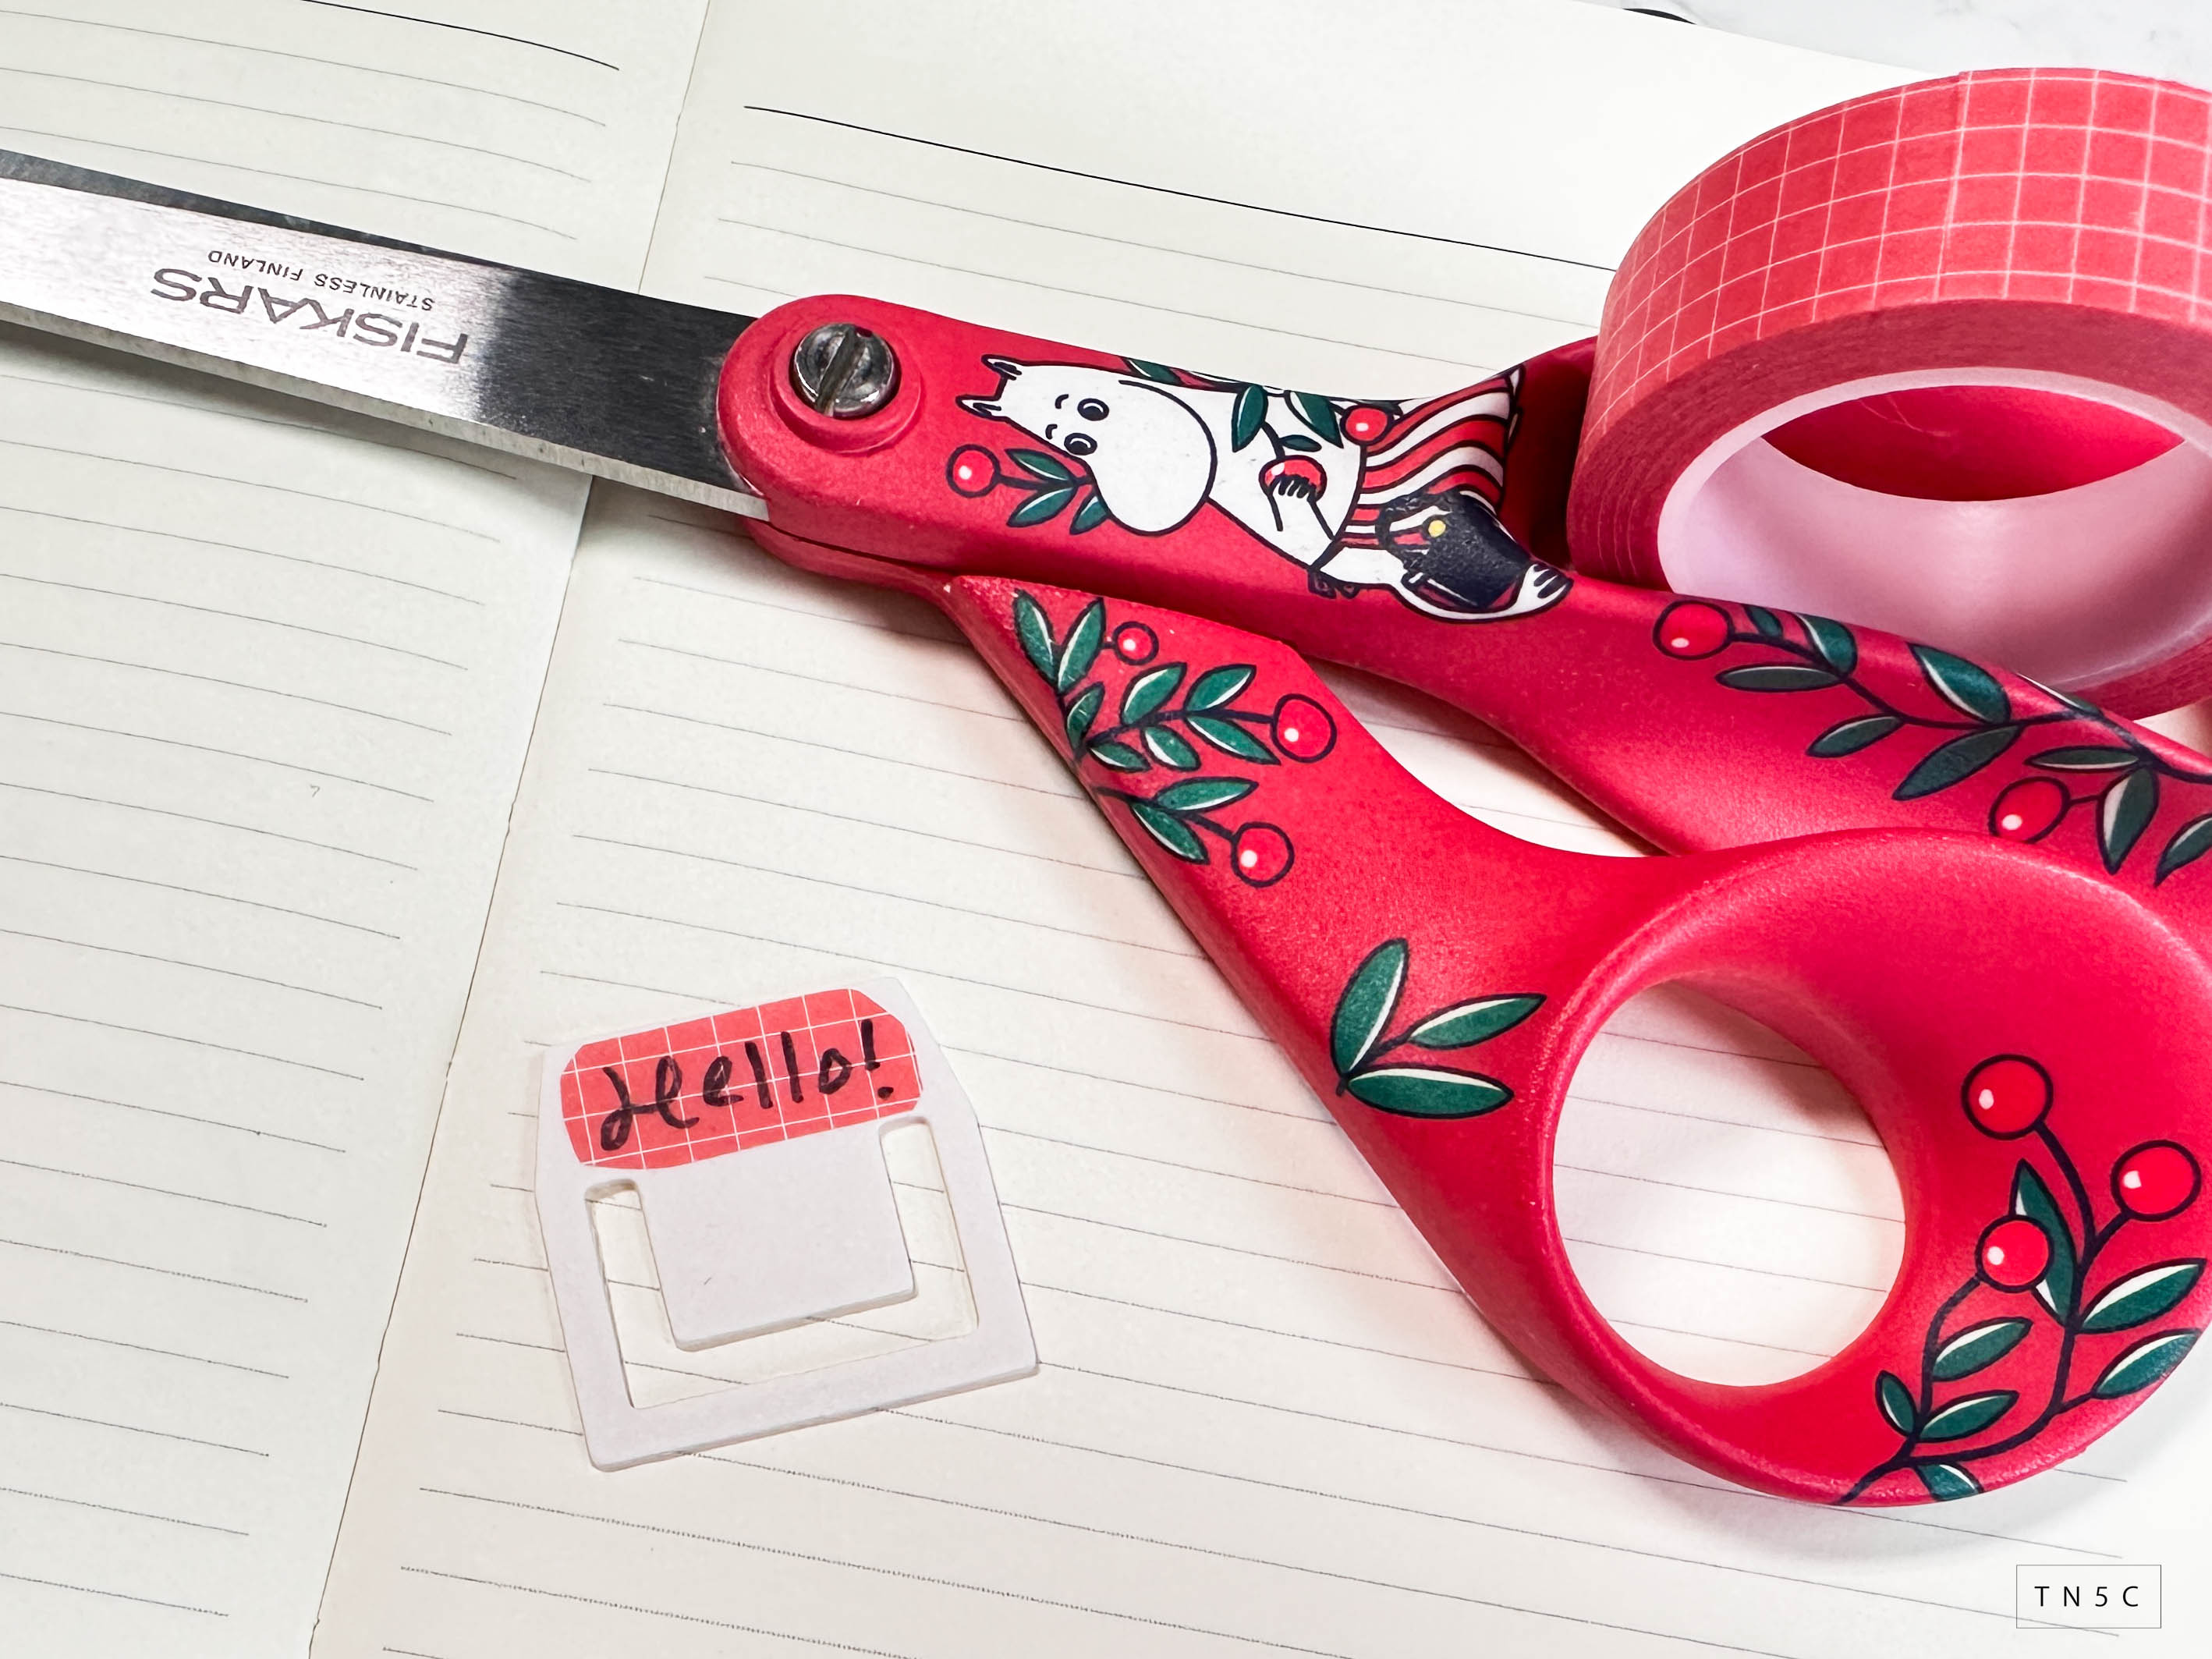

2. Sticker Labels

To be able to reuse the clip, use labels to customise your paper clip. 


3. Printed labels 

If you don't like looking at your own handwriting, like me, print the labels or use sticker paper. 
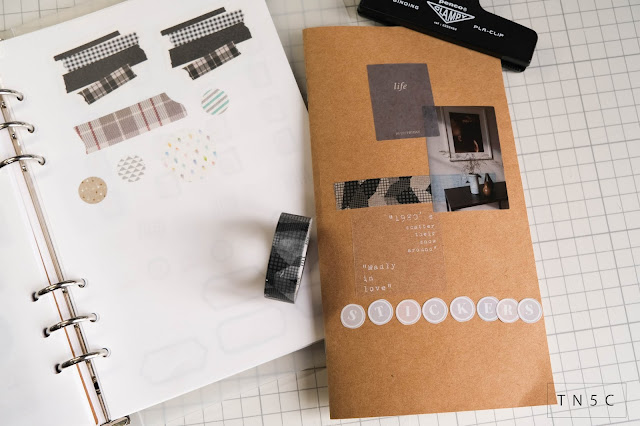

4. Washi Tape

A combination of the above methods and a good way to use up washi tape. 
If you collect washi tape, you know what I mean!
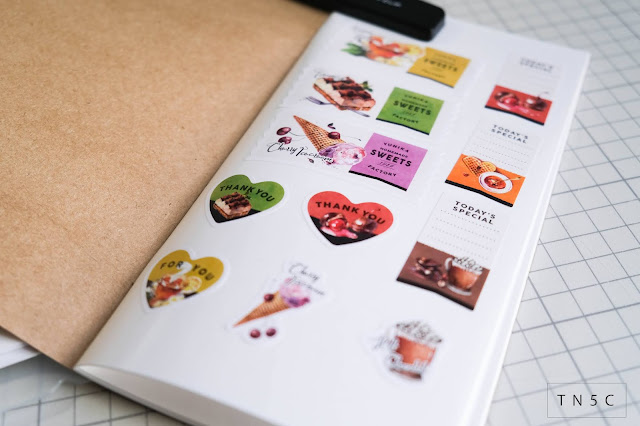

5. Cute stickers

I found these cute stickers in Daiso and it's such a simple and cute way to add to the paperclip. 


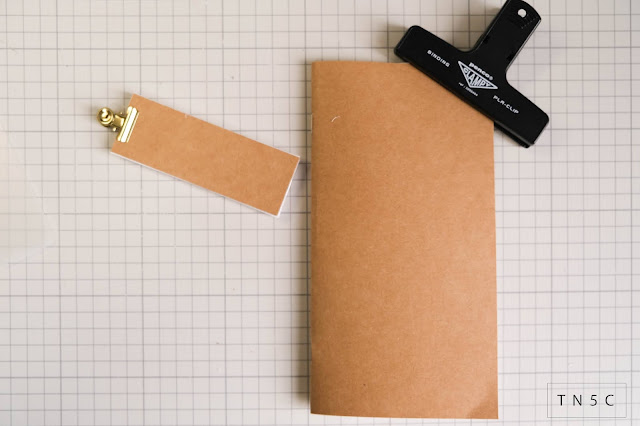
Here's what it looks like in my notebook!


What do you think? What is your favourite way to customise the paper clip? 

Read More

Friday, August 20, 2021

DIY sticker book (using our sticker release paper)


Sticker release paper is coated paper you can use to store your stickers.

The stickers are removable and the paper is reusable. 

Note: adhesive effectiveness may depend on the sticker/manufacturer.  

In this post, we'll learn how to make a Slim A5/Travelers Notebook personal insert size sticker book. 

 Watch a video of this DIY on our youtube channel.


You'll need:
1 x A4 card (for the cover)
1 set of A4 sticker release sheets (we recommend a maximum of 10 sheets for the notebook)
1 stapler 

Buy sticker release paper here.


You'll also need a bone folder (or something with a blunt edge), 2 paperclips, a cutter and a ruler. 


You don't need to use an office grade stapler, there are ways to staple bind the notebook with an everyday stapler.
I'm using this long stapler from threeppy, your local office supply store should sell something similar, it's a good item to have for making your own notebooks. 


Step 1: fold the A4 card and all the sticker release sheets. 

This will make it easier to keep a notebook shape. 


Step 2: Align all the sheets and secure 2 sides with the paper clips. 


Step 3: Measure and mark where you'd like the staples to go. 
Step 4: Align the stapler to the fold of the card and staple the sheets together. 


This is what the staples look like inside and outside. Folding the paper at the beginning helps with the alignment. 


Step 5: Because of the thickness of the paper, after the binding, there will be some edges that will stick out. 
I recommend trimming them off. 


Step 6 (optional): You can leave the book as A5 or measure and trim it again to make a travelers notebook insert, also known as slim A5. 

I used the offcuts to create a mini book, it's great for keeping random strips of washi tape or giving stickers to friends! 


Final step is to decorate your new notebook! 

If you need more pages or the ability to swap out pages, we also have A5 sticker release sheets that can be punched with 6 or 20 hole upon request. 

Don't forget to check out our Etsy store. 


Read More

Friday, July 3, 2020

DIY Tutorial + bonus free printable : Make your own clear pencil case

If you have been looking around on stationery instagram accounts in Japan, you must have noticed this clear pencil case everyone appears to have. 

Want one too? 
Good news, you don't have to fly to Japan to purchase it, you can easily make your own at home.
Here's what you need!
  1. A5 Soft card Case
  2. Clip
  3. Stickers to decorate

All you need to do is insert your pens and roll the end up. Use the clip to hold it together!
To decorate it, get another piece of plastic (I cut mine from the packaging of the case XD) and stick your stickers on. 

Once you finished decorating it, insert the plastic into the pencil case! It will also help keep the pen case in shape when you toss it into your bag.

Easy and looks great in photos!
And to get you started, I am sharing a printable of the stickers I used!

Download here 
(Only available till 10th July 2020)

If you make the pen case or use the printable, please tag as on instagram @thenumber5.co and use the tag #TN5Cprintable!

And if you haven't started following us on instagram, you can find us here!
We post ideas, layouts and lots more to inspire you.

Read More

Saturday, December 21, 2019

REVIEW : NURIMA DIY Stickers


Ever had problems finding the right color coordinating stickers?
Like the look of hand illustrated and colored drawings but don't want to draw them yourself?
Well, NURIMA has a line of stickers perfect for you!

Each set has two identical sheets of stickers in them [as below]

Simply pick the sticker you want to use

And color it in with color pencils! Its as easy as that!
Left uncolored, they make lovely monochrome stickers with gold accents as well!
Have you tried these?
What do you think of them?
Read More

Friday, June 22, 2018

Coharu Washi Tape Printer by Kingjim (Hiyori by Mizutama)

Kingjim makes a series of label printers that are geared towards more casual, girl, colorful users. Some of the printers are able to print on special ribbon and then there's the Hiyori, which was created with one of my favourite illustrators, Mizutama. 

What is it? 

It's a label printer with a twist! It not only prints labels, it can also print on special washi tape and there are hole punches in a variety of shapes to create diary/planner stickers. 

The entire Mizutama collection consists of the printer, label paper, hole punches and little folders with pockets to hold the labels/stickers.  Other items from the Coharu line can be used with this printer. 

One thing to note is that whilst the buttons are labelled in english, the system language is in Japanese. Nothing a little playing around won't solve, it's easy to get a hang once you spend a bit of time trying the various settings. Besides the usual settings like font, style, there are also Mizutama exclusive icons and preset greetings like happy birthday. 

The hole punch is an optional accessory, it's a handle and the punches are sold separately and interchangeable. It's easy to swap it out and easy to align the label to get the right punch. Great for making smaller stickers for monthly layouts or similar. 

The mini folder is a newer addition to the collection and is very useful. There are  3 pockets and will hold quite a variety of labels/stickers, perfect for travel. 

The Hiyori is one of most used tools, I do recommend it.

Read More